How to Digitize Old Photos: Complete Guide (2026)
Quick take: The best way to digitize old photos depends on how many you have. For under 100 prints, use your phone with Google PhotoScan - it's free and takes about 15 seconds per photo. For larger collections (500+), a dedicated scanner like the Epson FastFoto FF-680W scans one photo per second. For boxes of thousands, send them to a professional service like ScanCafe at $0.25-0.50 per photo. Once digitized, organize by date and event, then share with family through a simple link they can open on any device.
Why your old photos are running out of time
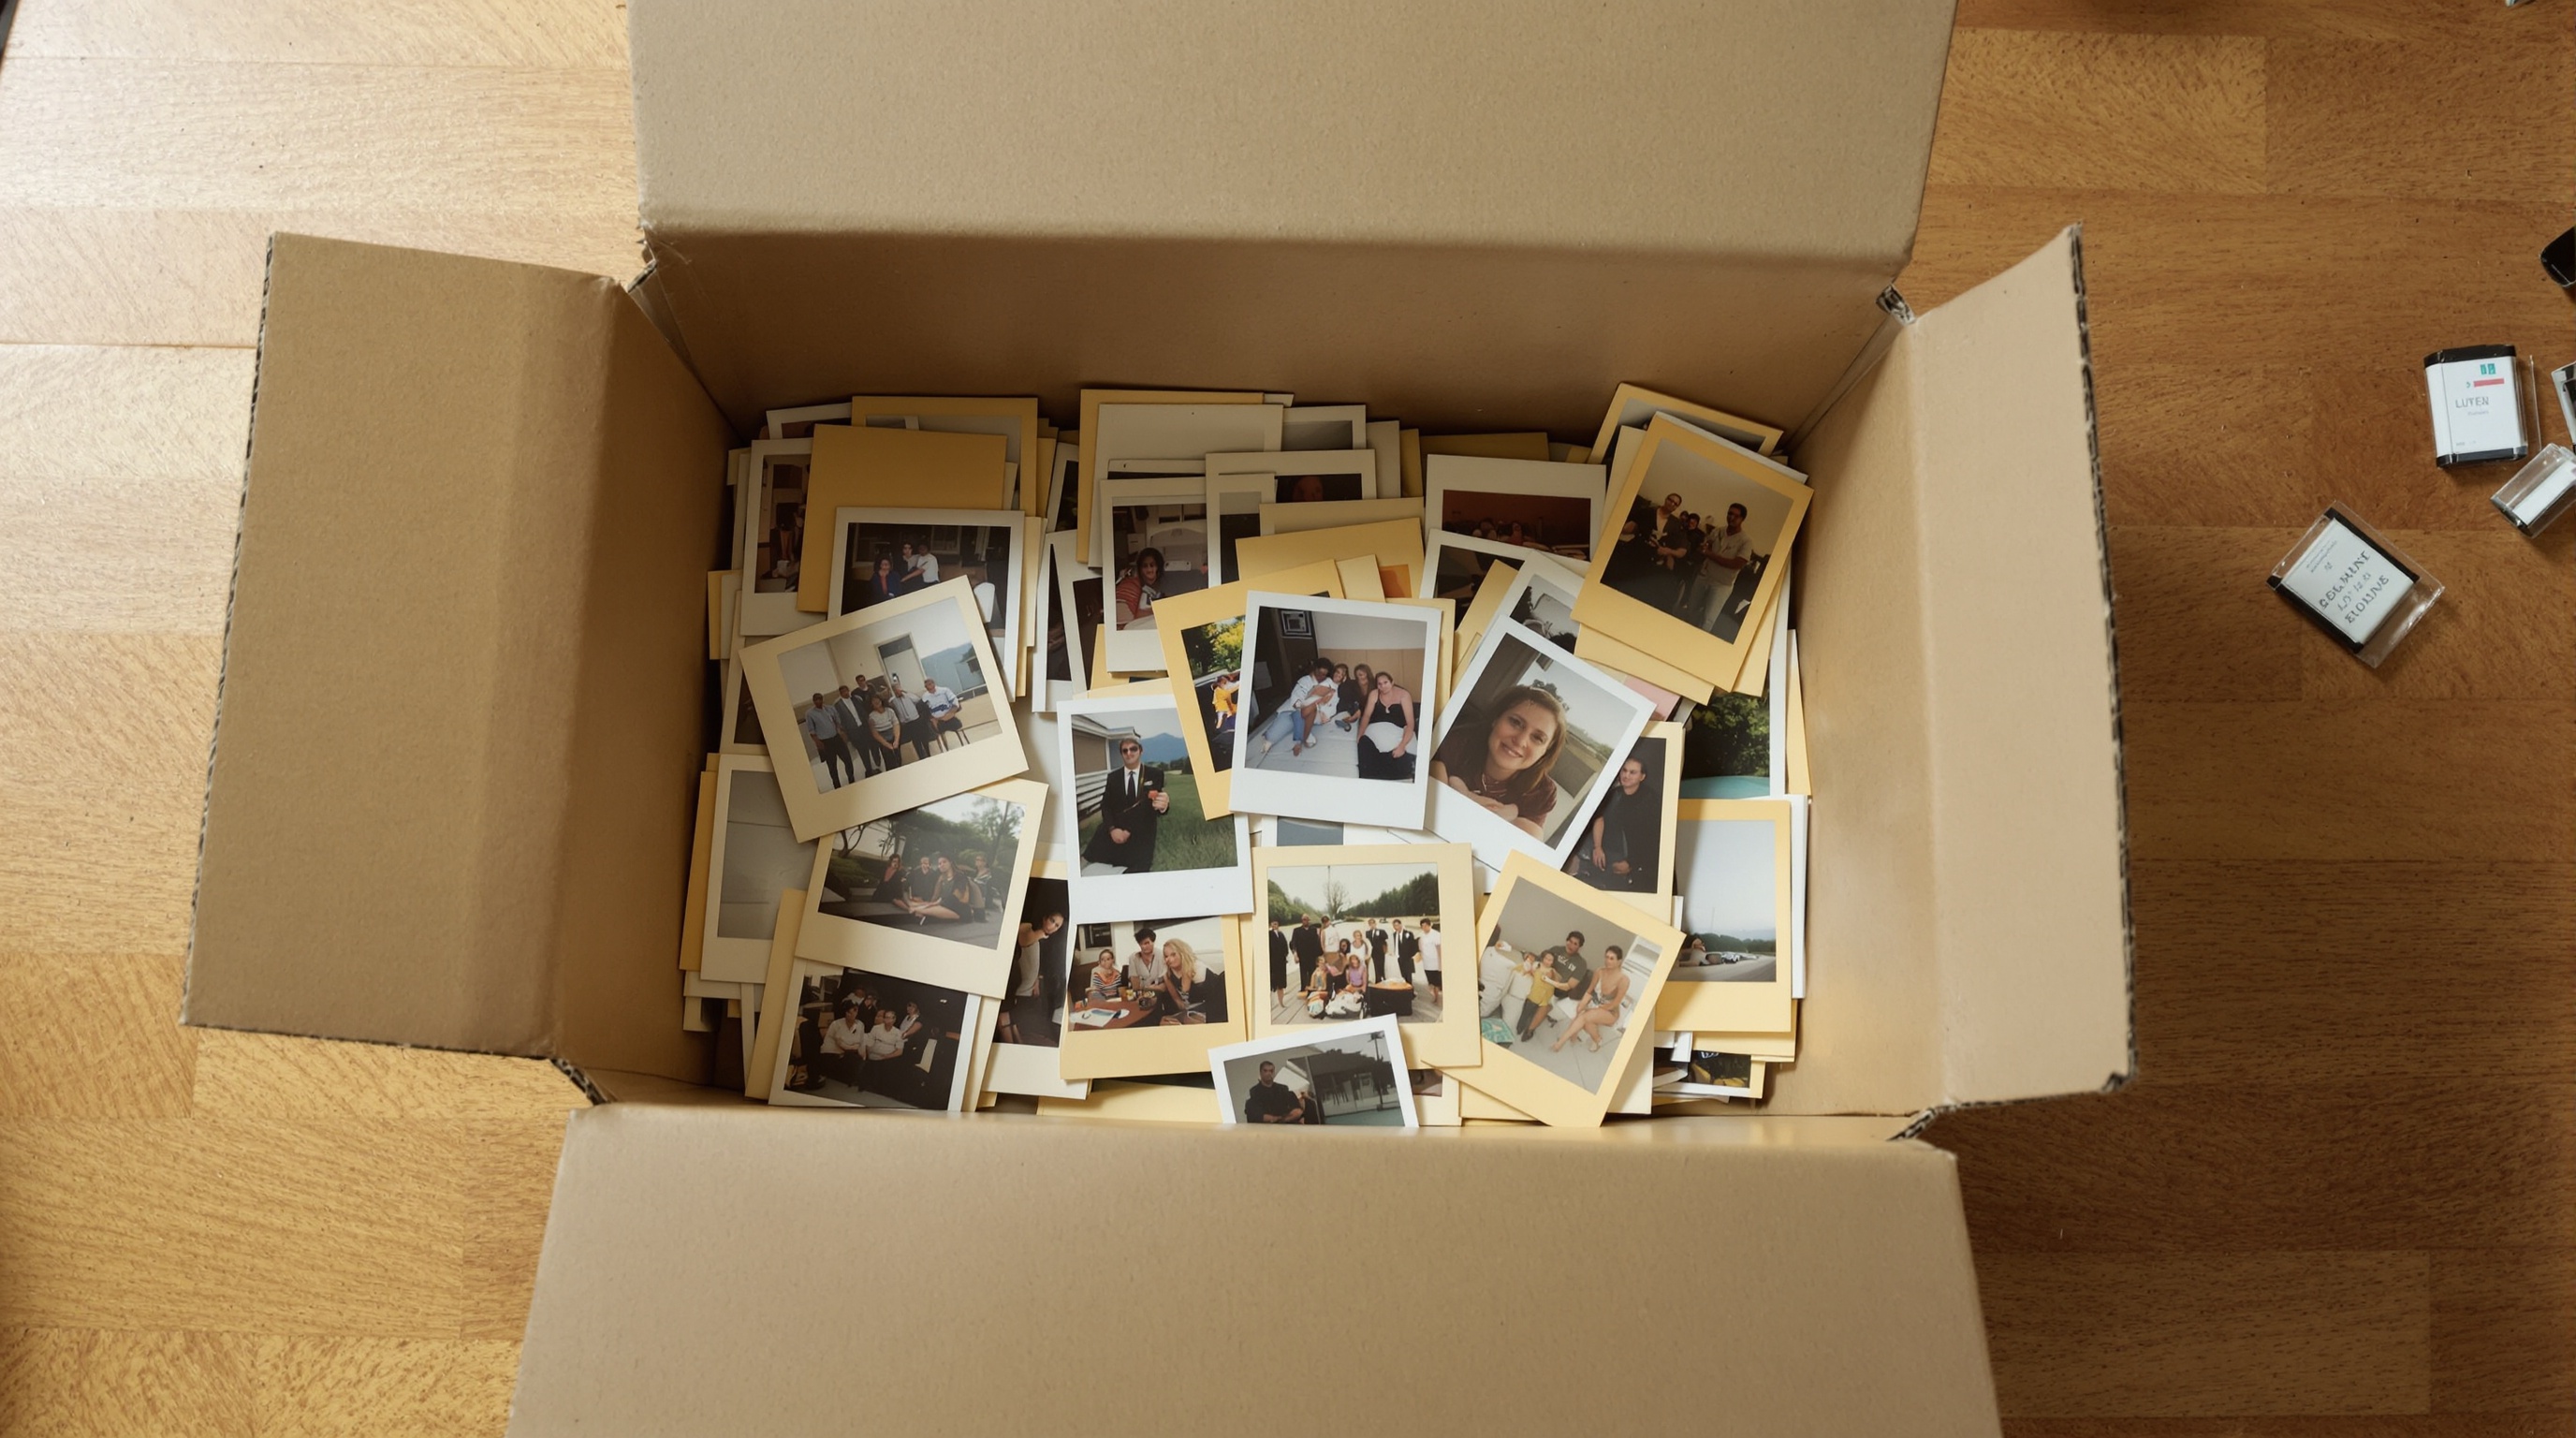
I spent a weekend scanning my parents' albums last year. About halfway through the second box, I pulled out a photo from 1987 and the colors had shifted so badly that everyone's skin looked green. The photo next to it had stuck to its sleeve and tore when I peeled it apart. That was a picture of my grandmother holding me as a baby. There is no other copy.
Physical photos degrade. This isn't a maybe-someday problem - it's chemistry. Color prints from the 1970s through 1990s use dye-based processes that fade with exposure to light and humidity. The Image Permanence Institute at Rochester Institute of Technology estimates that standard color prints stored in typical home conditions lose noticeable color density within 30-60 years. Prints stored in attics, basements, or garages degrade faster due to temperature swings and moisture.
Film negatives last longer than prints, but they're not immune. Cellulose acetate film (used in most consumer negatives from the 1950s onward) eventually suffers from "vinegar syndrome" - the acetate base breaks down and releases acetic acid. You can literally smell it. Once it starts, it accelerates and damages nearby negatives too.
The best way to digitize old photos is to do it before the damage gets worse. A scan made today captures whatever detail remains. Wait another decade and you're scanning a faded version of what you could have preserved now. Every year you delay, you lose information that no amount of digital restoration can fully recover.
Viallo is a private photo sharing platform that lets you create photo albums and share them through a link. Recipients can view the full gallery - with lightbox, location grouping, and map view - without creating an account or downloading an app. Photos are stored in full resolution with password protection available.
4 ways to digitize old photos
There's no single right answer here. The best method depends on how many photos you have, what condition they're in, and how much you're willing to spend. Here are the four realistic options.
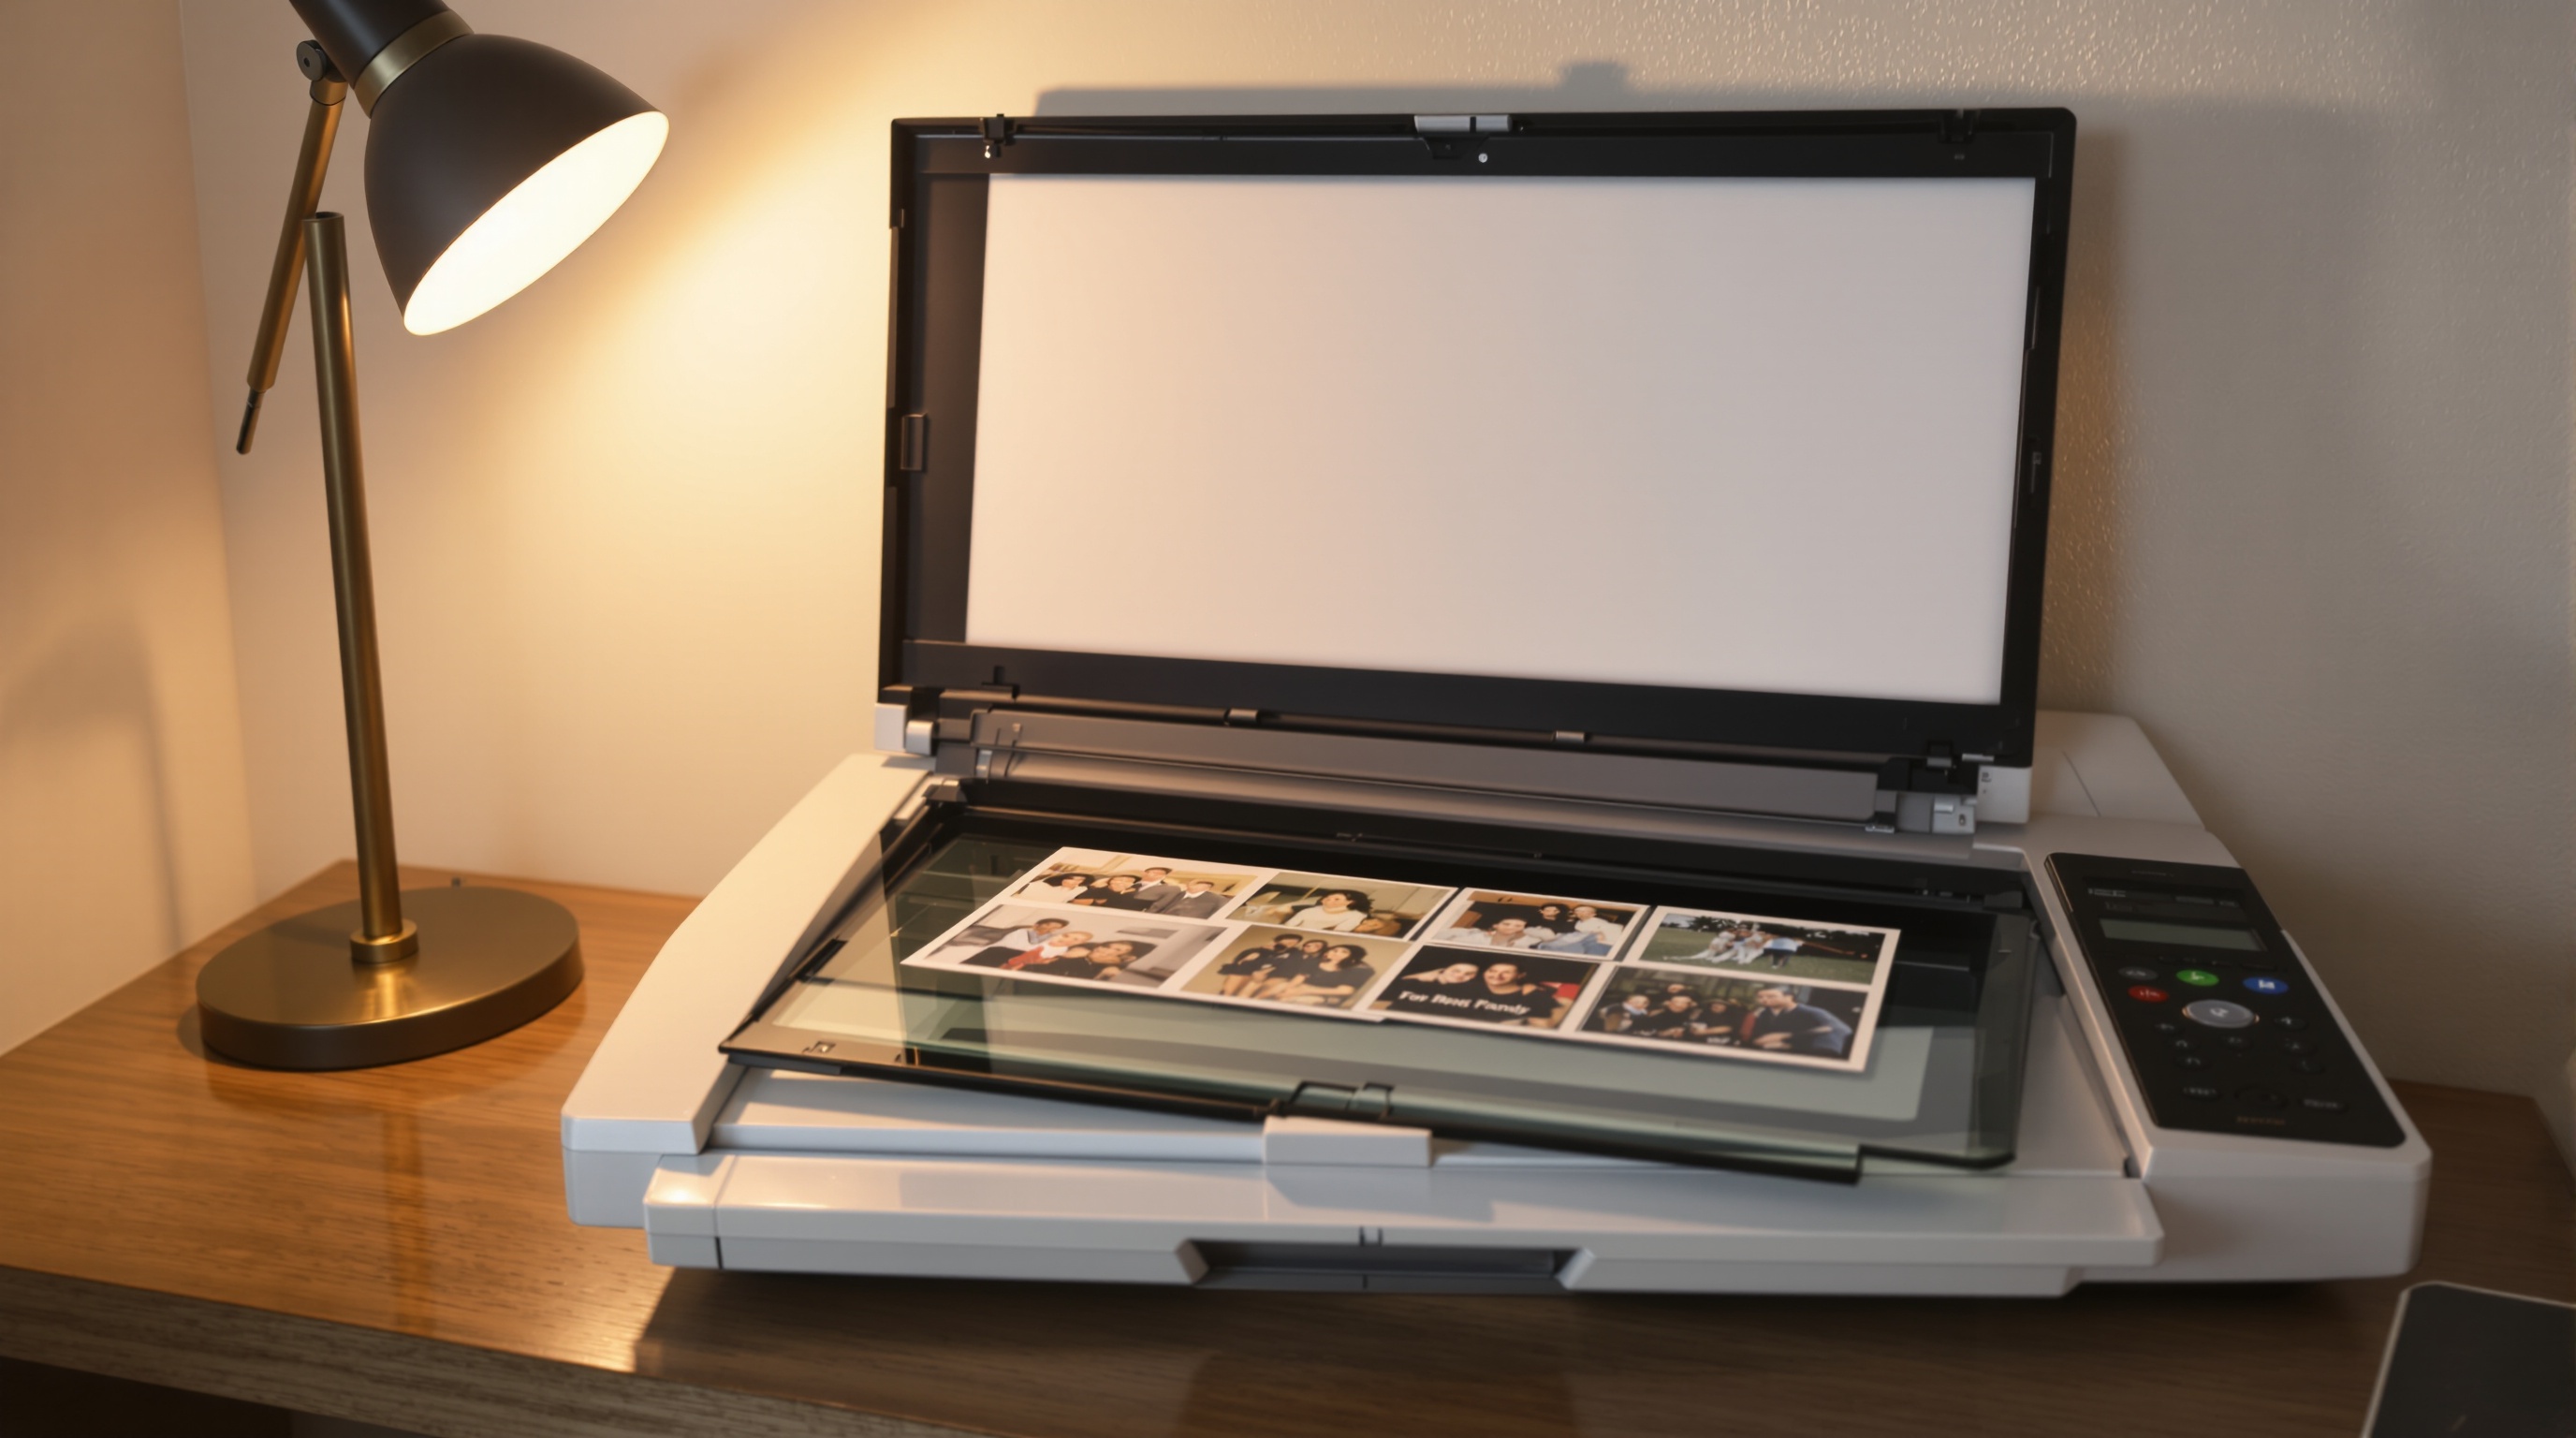
1. Flatbed scanner - best quality, slowest
A flatbed scanner like the Epson Perfection V600 ($200-400) produces the highest quality scans you can get at home. Scan prints at 600 DPI minimum. For film negatives and slides, you'll want 2400 DPI or higher - the V600 handles both with its built-in transparency unit.
The downside is speed. Each photo takes 30-60 seconds to scan, plus time for positioning, previewing, and cropping. Realistically, you'll scan about 40-60 photos per hour. For a box of 200 prints, that's a full weekend project. For thousands, it's weeks.
Use a flatbed if you have a small collection of important photos - wedding albums, family portraits, irreplaceable one-of-a-kind prints. The quality difference over phone scanning is real, especially for prints that are already faded or damaged.
2. Phone scanning apps - fastest for prints
Your phone camera is surprisingly capable as a scanner. Google PhotoScan (free, iOS and Android) eliminates glare by taking multiple captures and compositing them. Microsoft Lens handles perspective correction well. Apple's built-in document scanner in Notes works in a pinch.
Phone scanning is fast - about 15 seconds per photo once you get into a rhythm. The quality is good enough for sharing and viewing on screens, though it won't match a dedicated scanner for archival purposes. The big advantage: you already own the equipment.
Set up properly. Lay photos on a flat, dark surface near a window for even lighting. Avoid direct sunlight - it creates harsh reflections. If you're using PhotoScan, follow the four-dot capture pattern it shows you. It's designed to cancel out the glare that makes phone scanning tricky.
3. Professional scanning services - best for large collections
If you have boxes of photos and the idea of scanning them yourself sounds miserable, pay someone else to do it. ScanCafe charges $0.29-0.39 per photo depending on volume, with 600 DPI scans. ScanMyPhotos offers bulk pricing starting at about $0.25 per photo. Local print shops and FedEx Office locations also offer scanning services, usually at $0.50-1.00 per photo.
The process is simple: pack your photos in a box, ship them to the service, and get back digital files on a USB drive or cloud download. Turnaround is typically 2-6 weeks depending on volume. ScanCafe lets you preview and reject scans you don't want before paying, which is a nice touch.
The main risk is handing over irreplaceable originals to a shipping company. Use insured shipping both ways. Some services offer pickup and drop-off if you're in a major metro area.
4. Fast-feed photo scanners - best for 1000+ photos
The Epson FastFoto FF-680W ($400-500) is built specifically for this job. It feeds photos through a roller mechanism at about one photo per second. You stack 36 photos, press scan, and get 36 high-resolution files in under a minute. It scans both sides automatically, capturing any notes written on the back.
At $400+, this only makes sense if you have well over 1,000 photos. At that volume, the math works out cheaper than professional services and faster than a flatbed. The trade-off is that roller-feed scanners can damage fragile or warped photos. Don't run anything through it that's torn, heavily curled, or stuck together.
Step-by-step: Scanning photos at home
Whether you're using a flatbed scanner or your phone, the workflow is the same. Here's the process I settled on after scanning about 2,000 of my family's photos.
Before you start
- Sort first, scan second. Pull all the photos out of their albums and group them roughly by decade or event. This saves you from reorganizing the digital files later.
- Handle with clean, dry hands. Fingerprints on old prints can cause permanent marks. Cotton gloves are cheap insurance.
- Clean the scanner glass. A single hair or dust speck shows up on every scan. Wipe the glass with a microfiber cloth before each session.
The scanning process
Step 1: Set your scanner to 600 DPI for standard prints (4x6, 5x7). Use 1200 DPI for small prints (wallet size) or anything you might want to enlarge later. For negatives and slides, use 2400 DPI or higher.
Step 2: Scan as TIFF files if you have the storage space. TIFF is lossless - no quality lost to compression. If storage is tight, use JPEG at maximum quality (95-100%). Avoid scanning directly to PDF unless the photos are documents.
Step 3: Place the photo face-down, aligned with the corner guides. Preview before the final scan to check alignment and crop. Many scanners can handle 2-4 photos on the glass at once - scan them together and crop individually in software later to save time.
Step 4: Name files immediately as you scan. Use a pattern like 1985-christmas-family-001.jpg or 1992-summer-beach-012.jpg. Naming them later is exponentially harder because you lose context once the physical photos go back in the box.
Step 5: Back up as you go. Don't wait until you've scanned everything. Copy completed batches to an external drive or cloud storage after each session. Hard drives fail. A power surge during a multi-day scanning project could wipe out hours of work.
How to organize your digitized photos
Scanning is only half the job. A folder full of 2,000 unsorted image files named IMG_0001 through IMG_2000 isn't much more useful than a box of loose prints. You need a system. I've written a detailed guide on how to organize your digital photos that covers folder structures, metadata, and automation tools in depth. Here are the tips specific to digitized photos.
Date your photos before you forget
Unlike phone photos, scanned prints don't have EXIF date stamps. The file creation date is the day you scanned them, not the day they were taken. Write the approximate date into the filename or folder name while you still remember (or while someone who remembers is still around to ask). Even getting the year right is valuable. "Somewhere in the 1980s" is better than nothing.
Sit down with a parent or grandparent while sorting. They'll recognize faces, places, and occasions you won't. Do this soon - those memories fade too.
Folder structure for scanned photos
Keep digitized photos in a separate top-level folder from your phone photos. They're a different collection with different organizing needs. I use this structure:
- Family-Archive/1970s/ - decade folders for photos you can't date precisely
- Family-Archive/1985-Christmas/ - specific event folders when you know the date
- Family-Archive/1990s-School/ - thematic folders within decades
- Family-Archive/Unknown/ - for photos nobody can identify (you'll have some)
Keep the originals safe after scanning
Don't throw away the physical prints after scanning. Store them in acid-free archival boxes (about $15-25 on Amazon) in a cool, dry place. Digital files can get corrupted, drives can fail, and cloud services can shut down. The physical prints are your ultimate backup. Put them somewhere stable - not the attic, not the basement, not the garage. A closet in a climate-controlled living space is ideal.
How to share digitized photos with family
Here's where the real payoff comes. You've spent hours scanning your family's history. Now you want your siblings, parents, aunts, and cousins to actually see it. This is where most people hit a wall.
Google Drive links dump viewers into a file manager. Email attachments max out at 25 MB - that's maybe 10 scanned photos. Dropbox shows filenames, not thumbnails. iCloud Shared Albums require everyone to have an Apple ID. Your 80-year-old uncle isn't creating a Google account to see photos of his parents' wedding.
If sharing with non-tech family matters, Viallo's share links were built for exactly this. Upload an album of scanned photos, generate a link, send it to anyone. They tap it and see a proper photo gallery - large thumbnails, lightbox viewing, swipe navigation. No account creation, no app download, no sign-in screen.
How share links work
You upload your digitized photos to an album, tap share, and get a unique link. Send that link through WhatsApp, SMS, email, or print it on a card at the family reunion. Anyone who opens it sees the full gallery in their browser. They can view every photo at full resolution, scroll through the collection, and even see photos grouped by location if the originals had GPS data. The link works on any device - old iPads, Android phones, desktop computers. Check out our guide on private family photo sharing for more on keeping shared albums secure.

This matters most for the people who actually want to see these photos - elderly parents, distant relatives, family members who aren't on the same tech platform as you. The whole point of digitizing old photos is preservation and access. If the digital versions are locked behind app installs and account walls, you've just traded one inaccessibility for another. For more on making photos accessible to older family members, see our guide on sharing photos with grandparents.
5 mistakes to avoid when digitizing photos
1. Scanning at too low a resolution
Scanning at 300 DPI seems fine until you try to zoom in or print. 300 DPI is the minimum for a print at original size, but it leaves no room for cropping or enlarging. Scan at 600 DPI for prints - the files are larger, but storage is cheap. You can always downsample a 600 DPI scan. You can never add detail to a 300 DPI one.
2. Using JPEG compression too aggressively
If you're scanning to JPEG (instead of TIFF), use quality level 95 or higher. Lower quality settings introduce compression artifacts - blocky areas in gradients and soft backgrounds. On a faded vintage photo, these artifacts are especially visible. The difference between quality 80 and quality 95 is negligible in file size but obvious in image quality.
3. Not backing up immediately
Scanning 500 photos to a single hard drive with no backup is asking for heartbreak. Use the 3-2-1 rule: 3 copies, 2 different media types, 1 off-site. In practice that means your computer's drive, an external hard drive, and a cloud backup. Losing a week of scanning work to a drive failure is preventable.
4. Skipping the metadata
A file named scan_0847.jpg is useless five years from now. Take the extra 10 seconds per photo to add a descriptive filename. Write who's in the photo, where it was taken, and when. Your future self (and your kids) will thank you. Building a digital photo legacy starts with making photos identifiable.
5. Trying to do it all at once
A box of 3,000 photos is not a weekend project. It's a month-long project done in weekend sessions. Set a realistic pace - 100-200 photos per session is sustainable. Burn out on day one and the remaining boxes sit in the closet for another five years. Progress beats perfection.
Frequently Asked Questions
What is the best way to digitize old photos at home?
For most people, a phone scanning app like Google PhotoScan is the best starting point - it's free, eliminates glare, and produces good-enough quality for sharing and screen viewing. Viallo lets you upload the scanned photos and share them with family through a single link, so recipients don't need any accounts or apps. For archival-quality scans, a flatbed scanner like the Epson Perfection V600 at 600 DPI gives better results but takes significantly longer.
How do I scan photos without glare or reflections?
Use Google PhotoScan's multi-capture mode, which takes four offset shots and composites them to remove reflections. Viallo preserves the full resolution of whatever you upload, so your carefully scanned photos won't get compressed or downscaled when you share them. If using a phone camera directly (without PhotoScan), position the photo near a window with indirect light and angle your phone slightly to avoid catching your own reflection.
Is it easy enough for non-technical family members to view shared digitized photos?
Yes, if you choose the right sharing method. Viallo's share links open in any browser with no account creation, no app download, and no sign-in - your 80-year-old grandmother taps the link and sees the photos immediately. Google Photos requires a Google account to view shared albums, which is the number one barrier for older family members. iCloud Shared Albums require everyone to have Apple devices and an Apple ID.
What is the difference between scanning photos with a phone and a flatbed scanner?
A flatbed scanner captures more detail and handles faded or damaged prints better because the light source is controlled and consistent. Phone cameras rely on ambient light and are limited by lens distortion and reflections. Viallo accepts uploads from either method at full resolution - there's no compression on upload. For most family sharing purposes, phone scans are perfectly adequate. Reserve flatbed scanning for heirloom photos or negatives that need maximum detail.
My parents have 40 years of photos in shoeboxes - where do I even start?
Start with the oldest and most fragile photos first - those are most at risk of further degradation. Viallo's free plan lets you create 2 albums with 200 photos, enough to digitize and share the most important batch right away. Don't try to tackle everything at once. Scan 100-200 photos per weekend session and compare storage options when you're ready to scale up. Professional scanning services like ScanCafe or ScanMyPhotos can handle the bulk for $0.25-0.50 per photo if the volume is overwhelming.
Readers preserving family photos can start sharing them with Viallo's free plan - 2 albums, 200 photos, no credit card required.